Each year I do a large unit on digital citizenship with grades 3-5. I introduce the topics and really have great conversations with my students about this very important theme that is so relevant to our kids. In 5th grade, we dive deeper into social media and the positive and negative effects it has on kids. For this particular project, I let students choose a topic from this list:
- Digital Citizenship and Identity
- Privacy and Security
- Screen Time Management
- Information Literacy
- Digital Etiquette and Empathy
- Cyberbullying Management
- Digital Footprint
- Self Image and Reputation
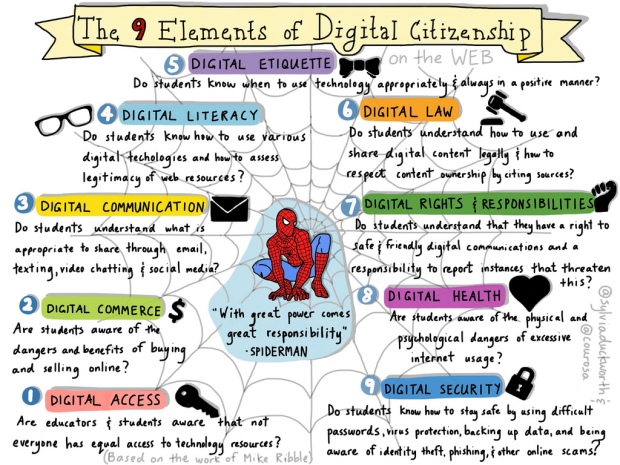
I love this graphic by @sylviaduckworth
I give students choices to how they will present their information and allow them to be creative and expressive while addressing the topic they choose.
- Create a PSA
- 10 Facts About…
- Create a commercial
- Author a book on the topic
- Record a puppet show
- Create a presentation
- Create a movie
- Create a movie trailer
Apps Used
- iMovie
- Adobe Spark Video
- Puppet Pals
- Keynote and Quicktime
- 30 Hands
- Puppet EDU
The overwhelming majority of kids chose to use Adobe Spark Video to create their projects.
Sample Videos from My 5th Grade Classes
- Harmful Effects of Cyberbullying
- Digital Footprint
- Pros and Cons of Social Media Use
- Be Cautious on the Internet
- Cyberbullying
- Digital Etiquette
- Social Media
- Cyberbullying
- Social Media
- Managing Screen Time
- Social Media Talk Show
- Social Media Awareness
- Copyright and Creative Credit
Check out Common Sense Media for a wealth of information on digital citizenship, including amazing curricular resources.
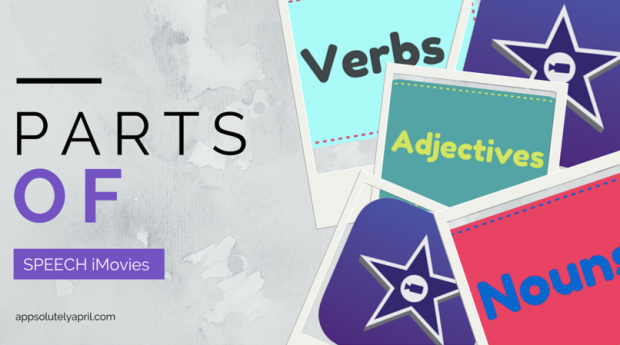 What a better way to demonstrate knowledge of a topic than by creating a video using iMovie! One of the great things about iMovie is the built-in trailers that kids can use to demonstrate or show their learning. I have kids create movie trailers to show their learning in all content areas and the result is always amazing. This time around, I had third graders showcase their knowledge of verbs, nouns, and adjectives. I have included a few of my favorites below. One thing that is very important to note is that I never allow my students to just take off with the iPad and begin taking pictures and videos for their projects. They must always do a rough draft where they complete an outline as well as the built in storyboard in iMovie. Additionally, this is also where they can decide what type of shot (video or still photo) they will add to their movie. A great resource that I love to share with others was created by

 This is how your new slide should look

