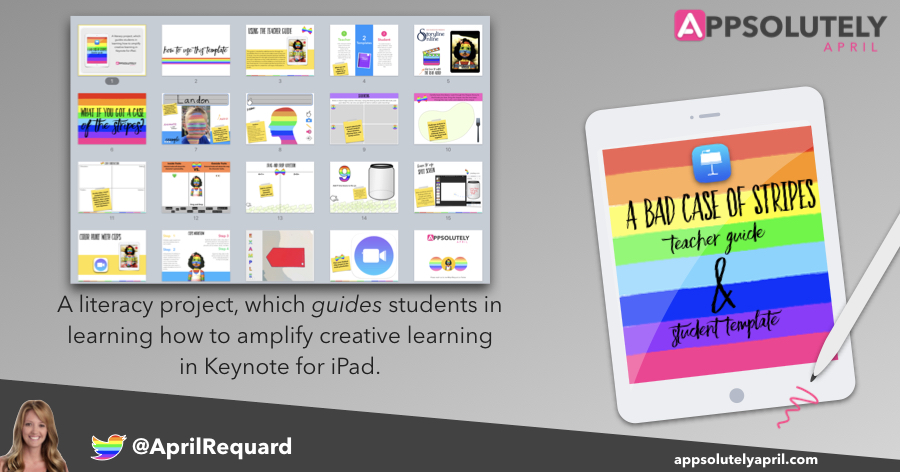
Anyone can go online and find a ton of really fun inspirational quote generators to create and print an inspirational poster. Additionally, how many of us go online and find our favorite quote and post it on social media? Are we really utilizing digital citizenship skills in how we re-use the work of someone else? How about we encourage our students to create their own from a blank slate with creative design in mind? In this post, I will lay out the directions for creating a poster using my favorite creation tool, Keynote.
Students can be the subject of the poster and display a quote that resonates in their life. They can create a poster to go along a research project on an important person in history and quote something remarkable they said during their life. They could honor an elder or family member and quote something they grew up hearing from that person. There are so many ways to approach this project.
Yes, And…
This project could be taken even further by adding an audio track of the student reading the quote with background music created in GarageBand. Export as a movie and now your inspirational poster has become a multimedia project with creativity and student voice at the heart!
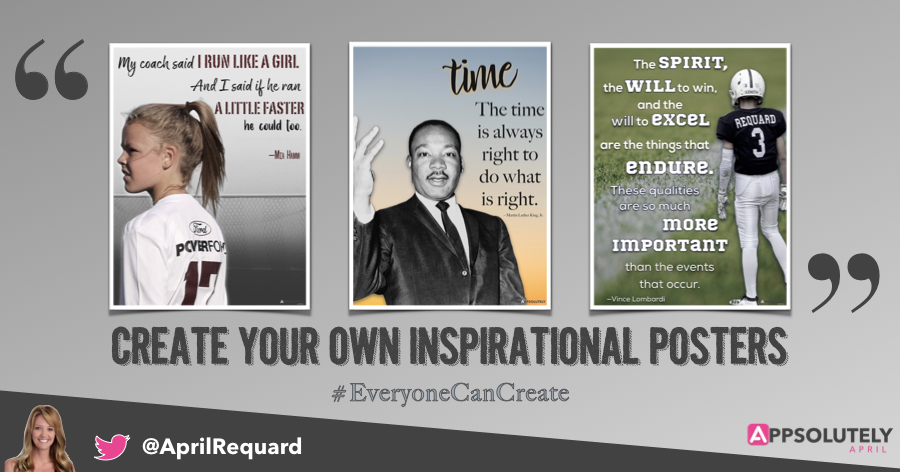
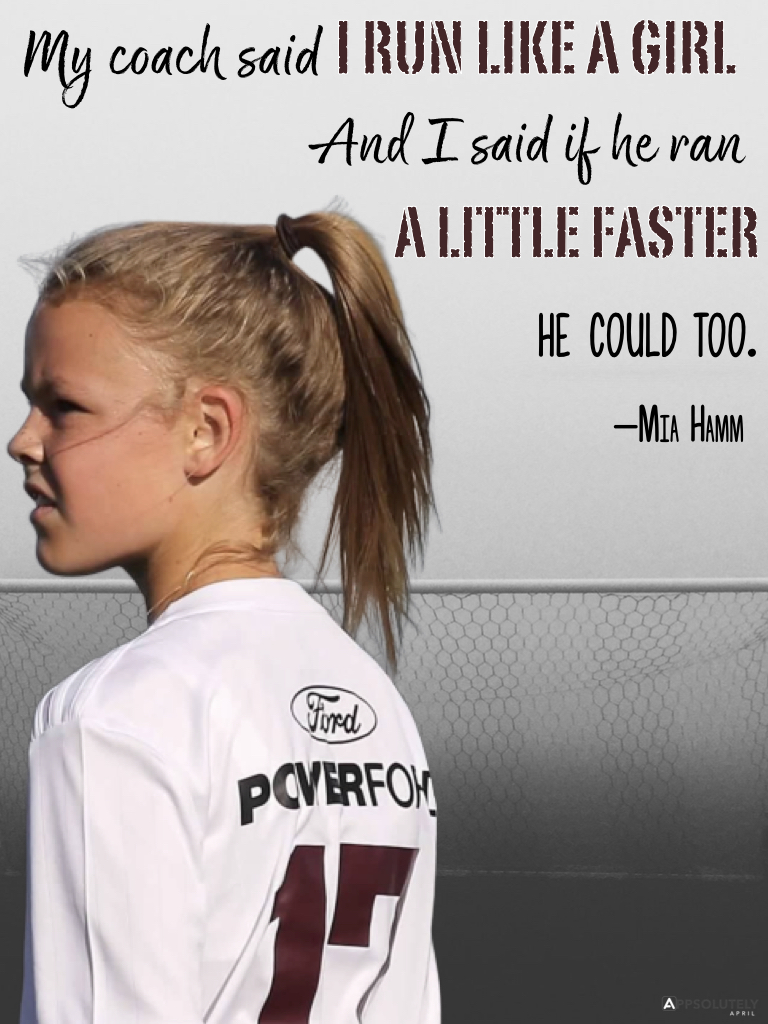
Here are three examples to get you started. Notice that the background has been removed. There are a few ways to do this. You can use Instant Alpha in Keynote to remove the background or you can use an online tool remove.bg.


Getting Started
Step 1: Encourage students to spend time finding quotes that resonate with them. The kind of quote that makes you feel inspired. The quote that gives you the “feels.” If students are researching a person, find the quote that best represents that person’s purpose.
Step 2: Create a new project in Keynote. Tap on the 3 dots in the upper right hand corner and tap Document Setup (or on Mac, go to Format and click on Document). From there, change the size of the slide so your poster is in portrait orientation. On a Mac, you will reverse the two numbers to create a custom slide size. Note: this step isn’t a must…some students might want their poster in Landscape orientation.
Step 3: Think about the photo that will serve as the background. You can use a photo you’ve captured, create your own design by experimenting with the gradient fill for your background, or you can use am image from a royalty-free image website. My two favorites are Unsplash and Pixabay. Search for what you might be looking for and then download the picture. If you are using an iPad, you can utilize Split Screen and drag the photo over to your slide. This makes multitasking so easy! Insert that picture on the slide and adjust the size so it fits your screen. You can play with the opacity and adjust the color as needed once you have more elements on your slide.
Step 4: Insert the subject photo.. Students can take photos of each other or students can use a photo they already have. Remember to use Instant Alpha or Remove.bg to completely take out the background. This makes the subject in the poster stand out as you can adjust the size, and format the photo to your liking. It’s really a great idea to take into consideration the Rule of Thirds when placing the subject of the photo. My good friend and ADE colleague taught me about the rule of thirds for photography, and I think it applies here nicely when thinking about where to place your subject. You can read more about Don’s work here on page 18.
Step 5: Now it’s time to type in your quote. Use a variety of text sizes and formats when inserting your text. What we learned when creating these posters is that it is easier to chunk up the text and create multiple text boxes so that you can format various words or lines of the text easily. If you don’t have a lot of fun fonts on your iPad, you can download Fonteer and get fonts for your iPad projects. If you are using a Mac, my favorite place to get fonts is dafont.com. Additionally, if you cannot install fonts on your computer, you can use an online font generator tool, which allows you to save the text as an image. Have fun playing with size, color, character style, capitalization, and outlining text. Keep in mind that less is more in this case as far as design is concerned.
Step 6: Once you have the text situated on the slide along with the photo, you are ready for adjustments. Play around with the opacity of the background image or the image of the subject. Add shadows, adjust the saturation…have fun with artistic expression here!
Step 7: If you want this as a poster, now you can export this as a PDF or an image. If you want to make this into more of a multimedia project, you can add a soundtrack with an audio recording to the slide from GarageBand. I have directions on how to do this in an earlier blog post here. You can export those slides as movies!
Step 8: Share your creations! Print them and put them in picture frames, post to social media, post them online and send them to parents! Create a book and include each child’s poster on various pages. Share the book to Apple Books and allow the world to see each student’s creations!
Happy designing!